

User Manual
awaBerry | Bespoke SoC Provisioning
Detailed steps for provisioning a bespoke System-on-Chip (SoC) device such as a Raspberry Pi.
Bespoke SoC Provisioning
Summary
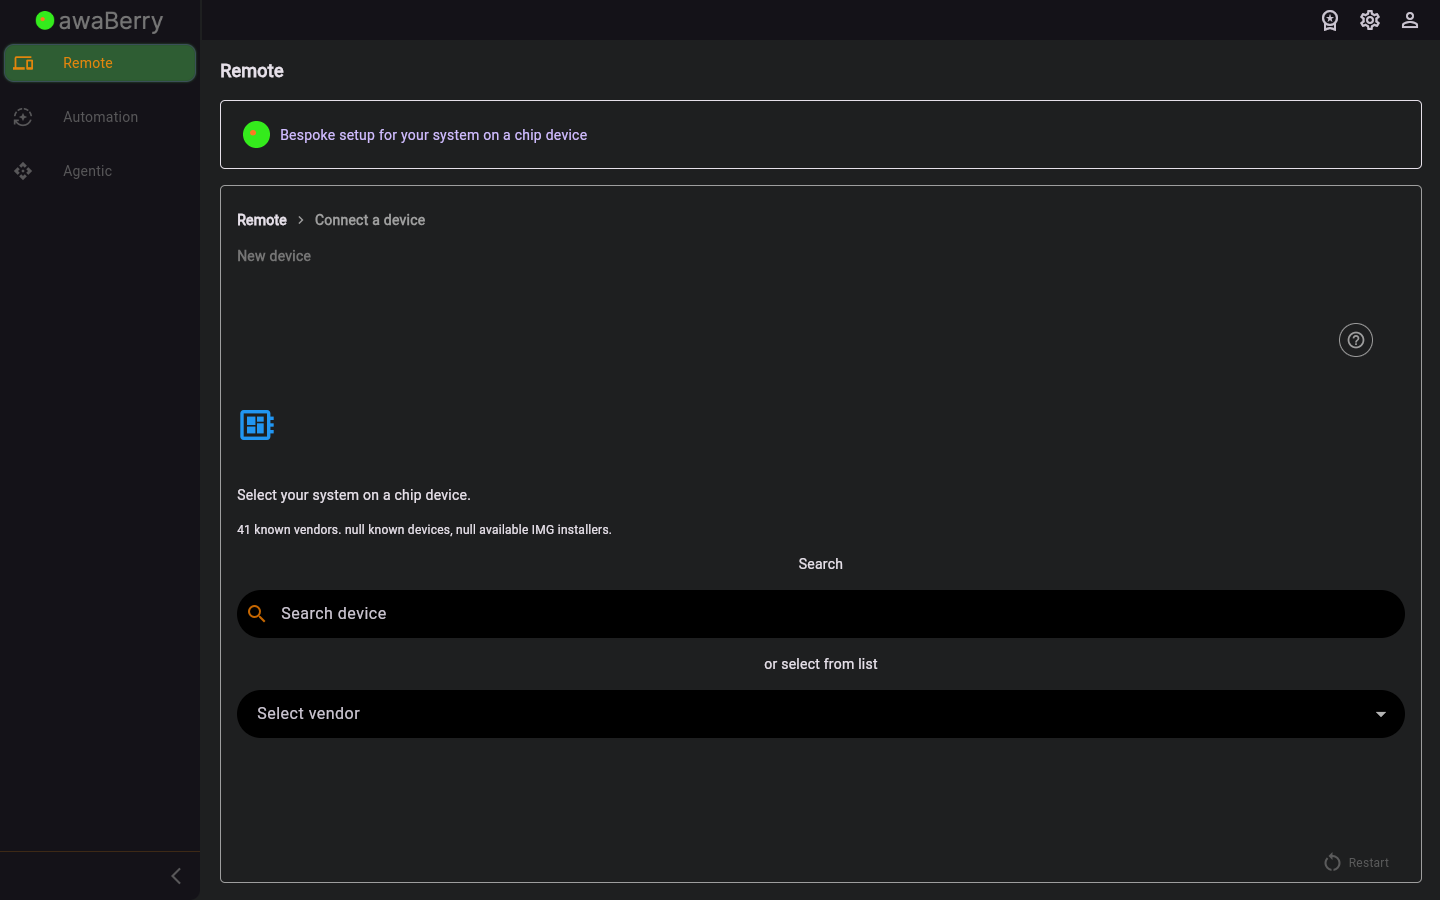
This screen guides you through preparing and flashing a custom OS image for a System-on-Chip (SoC) board such as a Raspberry Pi. The image is pre-configured with your account token and the Wi-Fi credentials entered in the previous step. On first boot the device automatically registers with your account.
Screen on arrival
Page Functionalities
- Image download link — Provides the URL for the custom awaBerry OS image for the SoC.
- Flashing instructions — Step-by-step guide to write the image to an SD card.
- First-boot auto-registration note — Explains that the device registers automatically on first power-up.
- Device name field — Text input for naming the SoC device.
- Continue button — Advances once the SoC is detected as online.
- Restart button — Returns to the beginning of the connect wizard.
Scenarios
Flash and register a Raspberry Pi
- Arrive at
/steps_newdevice_bespoke_socafter entering Wi-Fi credentials. - Download the provided OS image.
- Flash the image to a micro SD card using a tool such as Balena Etcher.
- Insert the SD card into the Raspberry Pi and power it on.
- The device connects to Wi-Fi and auto-registers; return to the wizard and click Continue.
- The SoC device appears in your Devices Overview.
