

User Manual
awaBerry | Bespoke Server Provisioning
Detailed steps for provisioning a bespoke server device with the awaBerry agent.
Bespoke Server Provisioning
Summary
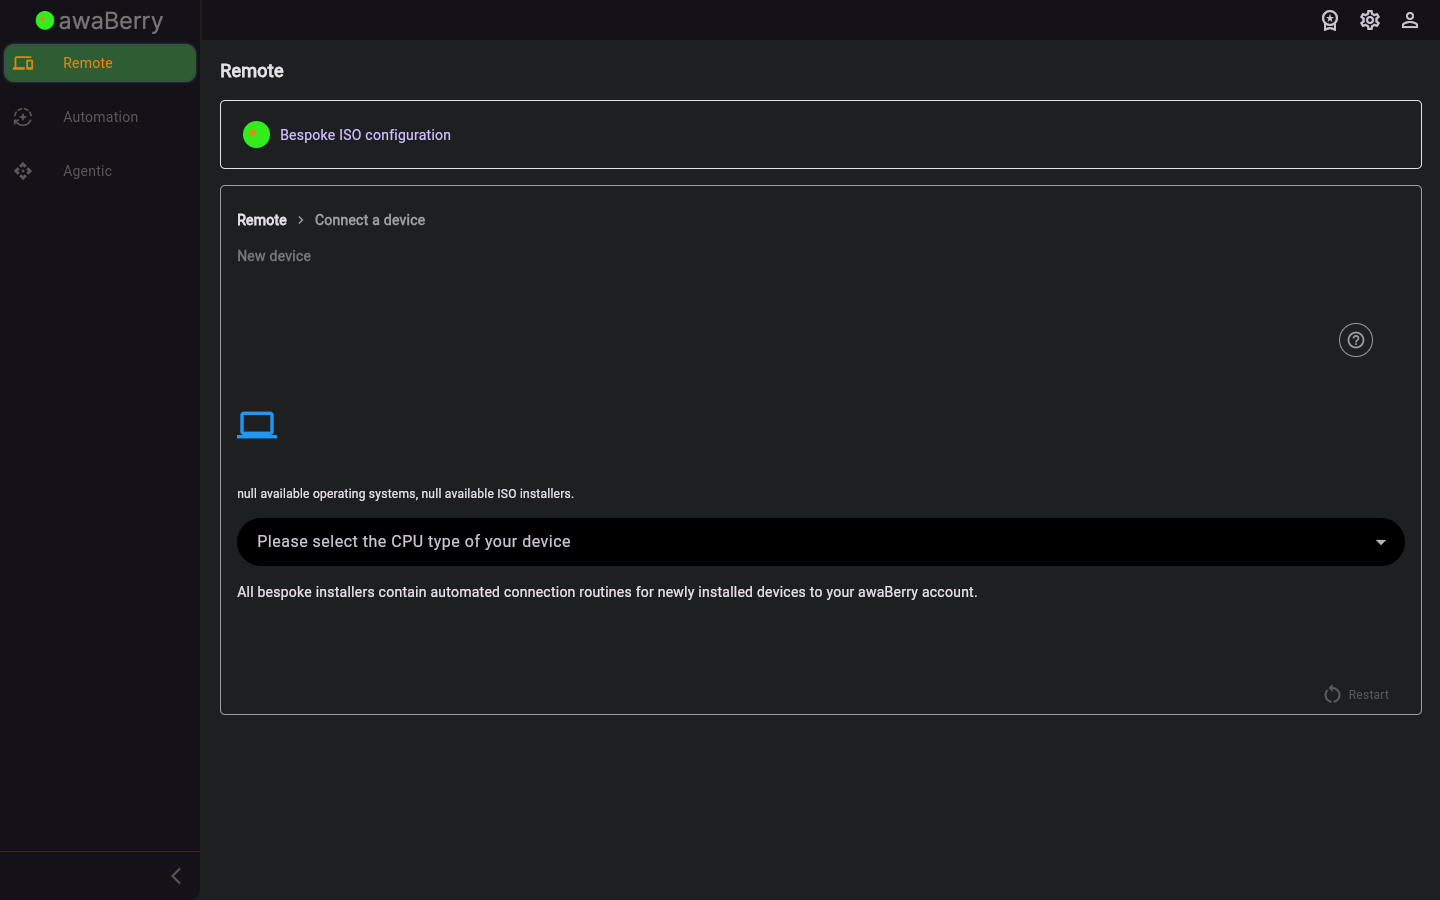
This screen provides the specific installation steps for adding a dedicated server as a bespoke device. It generates the appropriate install command or image configuration for server-class hardware and guides you through first-boot registration.
Screen on arrival
Page Functionalities
- Server install command — A pre-populated script or command to install the awaBerry agent on a server OS; includes a copy button.
- Device name field — Text input for naming the server device.
- Continue button — Advances once the server agent is detected as online.
- Restart button — Returns to the beginning of the connect wizard.
Scenarios
Install the awaBerry agent on a server
- Arrive at
/steps_newdevice_bespoke_serverfrom the Bespoke Device screen. - Copy the server install command.
- Run the command on the target server via SSH or a local terminal.
- The agent installs and registers automatically.
- Return to the wizard and click Continue.
- The server appears in your Devices Overview.
