

User Manual
awaBerry | Automation Project Overview
Browse, search, activate, and manage all Smart Automation projects on the currently connected device.
Automation Project Overview
Summary
The Automation Project Overview screen displays all Smart Automation projects stored on the connected device. From here you can see each project's name, summary, last-execution timestamp, and active status at a glance. You can search the list, toggle a project on or off, open a project for editing, delete it, or navigate to the Create Project screen to add a new one. This is the central hub you return to after every project-management action.
Screen on arrival
Features
- Search field — filters the project list in real-time by project name or summary text.
- Project counter chip — shows the total number of loaded projects.
- Project tiles — each tile displays the project name, a short summary, the last-execution date/time, and the agent type badge. Tiles are scrollable; a sticky icon-only mode activates after scrolling past the header.
- Active toggle (Switch) — enables or disables a project's scheduled execution without opening the editor. Changes take effect immediately on the backend.
- Edit button (pencil icon) — opens the Edit Project screen for the selected project.
- Delete button (trash icon) — shows a confirmation dialog ("Really want to delete this project?") before permanently removing the project.
- Create new project button (+ / add icon) — navigates to the Create Project screen.
- Settings button (gear icon) — opens the Automation Settings screen.
- Portal summary indicator — shows whether a project is published to the portal page.
- Pull-to-refresh / reload button — reloads the project list from the device backend.
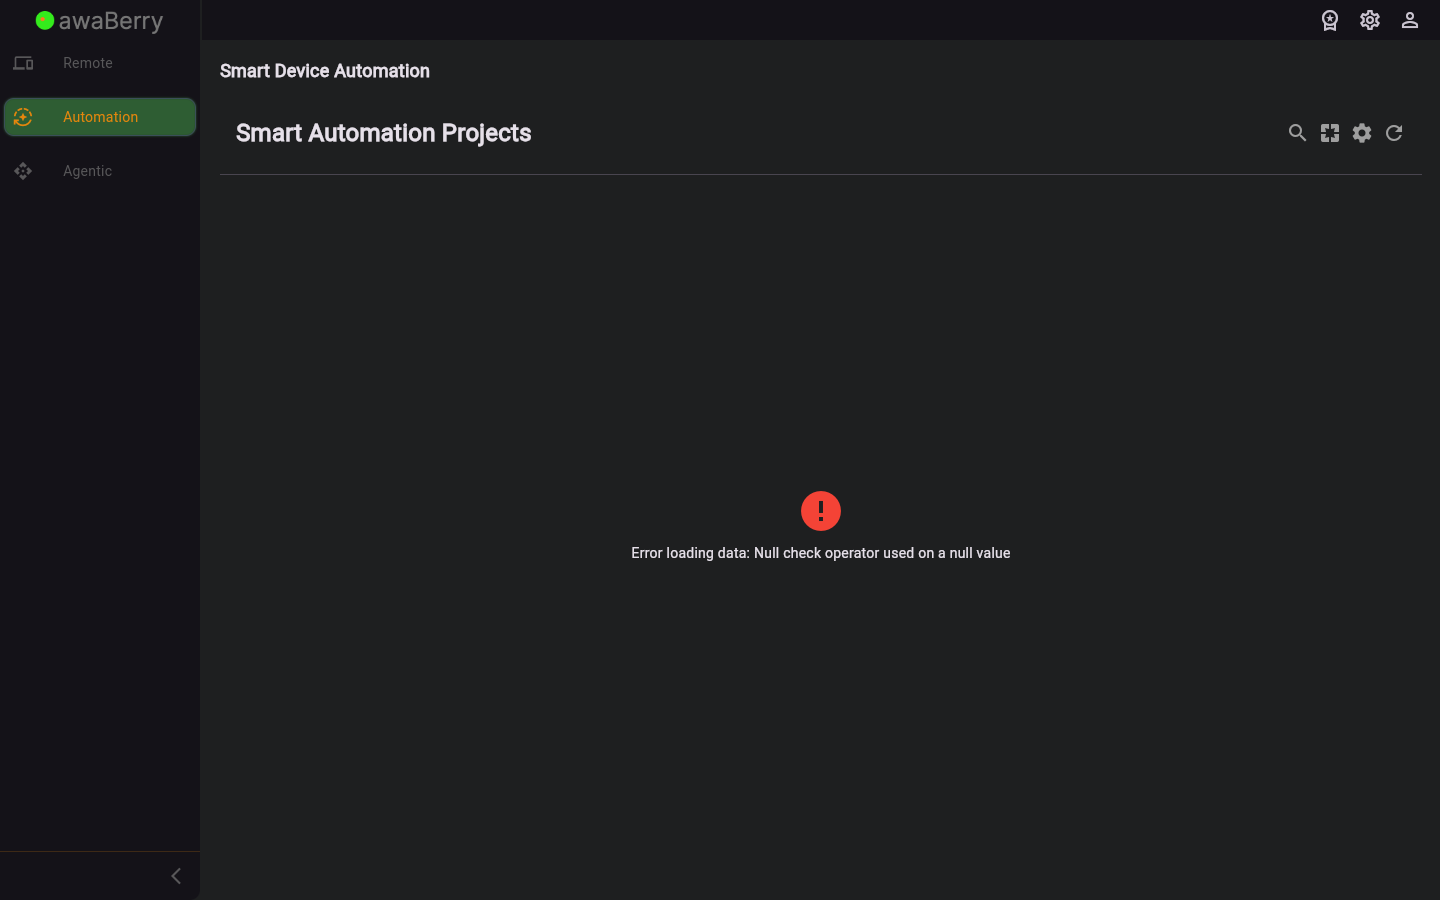
- Error state — if the project list cannot be fetched, an error message is shown with a retry button.
Scenarios
Browse and activate a project
- Open the Automation section while connected to a device. The Project Overview screen loads automatically.
- Scroll through the project list or type in the search field to find the project.
- Flip the Active toggle on the project tile to enable or disable scheduled execution.
- The backend confirms the change; the tile reflects the updated state.
Delete a project
- Locate the project in the list.
- Tap the trash icon on the project tile.
- A confirmation dialog appears. Tap Delete (shown in red) to confirm, or Cancel to abort.
- On confirmation the project is removed from the device and the list refreshes.
Navigate to create or edit
- Tap the + / add button in the top bar to go to the Create Project screen.
- Or tap the pencil (edit) icon on an existing tile to open that project in the Edit Project screen.
- After saving, you are returned to the Project Overview and the list reloads.
Open Automation Settings
- Tap the gear icon in the top bar.
- The Automation Settings screen opens as an overlay.
- Configure publication options and tap Save Settings, then return to the Overview.
